 |
| Anchor String Art |
What You Will Need:
a board (Lowes sometimes gives out scrap pieces for free)
wire brads 18-gauge 5/8 in. (Lowes item #58174)
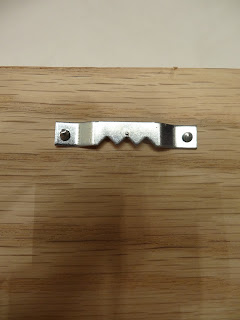
picture hangers (Lowes item #121140)
foam sponge sandpaper-fine
embroidery thread (Hobby Lobby has pretty much every color you can think of)
hammer
pliers
glue (I used Tacky Glue and it worked great)
Sand the edges of the board on each side until they are smooth. You can also sand the front as well but it shouldn't take much sanding.
Print out the shape you are wanting to use.
Cut the shape out and trace it onto the board in pencil so you can erase the lines when you are done. The anchor I used didn't have a loop so....I traced a Yahtzee cup lol
Here comes the tedious part. Measure out the distance you want your nails and put dots where each nail should go. I used 1 in. between each nail. I marked the inches on a piece of thread so I could measure around curves easier. I also marked on my pliers how far I wanted the nails to go in so they all would be the same height.
Once the nails are in place you are ready for the embroidery thread. Tie a knot at around the first nail to keep the string in place and a knot at the end. If you keep tension on the string it will look a lot neater than having the string sag. Once you are finished stringing, cut off all the loose ends from the knots and dab a little glue to hold the knot.
Add a picture hanger on the back and and you are done!
Thank you for reading and feel free to leave comments and questions!
UPDATE: He Loves It!


Thanks for the step by step instructions!
ReplyDeleteYou're welcome!
ReplyDelete